Showing posts with label Nail Art. Show all posts

Thursday, October 31, 2013

Challenge - Birthday/Halloween Nails - Zombie Cupcakes


Last week was my birthday and this week, I got my present from Rachel! Happy Birthday, me!! Ladies and gents, I've made it 30 years on this planet and finally met the polish of my dreams.

After breaking the crap out of my nail and having to mow them to less than half their length (TRAGEDY), I was feeling less than elegant.  I wanted to do something fun to make up for it and haven't yet tried the cupcake nails I see so many ladies on r/redditlaqueristas sporting on their birthdays. With Halloween around the corner, Rachel and I brainstormed these adorable zombie cupcakes!

I had started the manicure with Julep Francis, Julep Cleopatra, and Sinful Colors Dream on. As I was being indecisive over what to use as sprinkles, my birthday present came: Nerd Lacquer All of Time and Space! It is stunning and made for some perfect sprinkles!

The formula is ridiculously smooth and full of glitter. The glitter does settle in the bottle but simply turning the bottle upside down for a short time remedies the issue. All of Time and Space applies evenly, dries quickly, and results in a smooth (no glitter bumps!), shiny coat of polish. I'm in flipping LOVE.

Have you met a polish that raised your expectations of all other polishes? I'm pretty sure that just happened to me.

Saturday, October 19, 2013

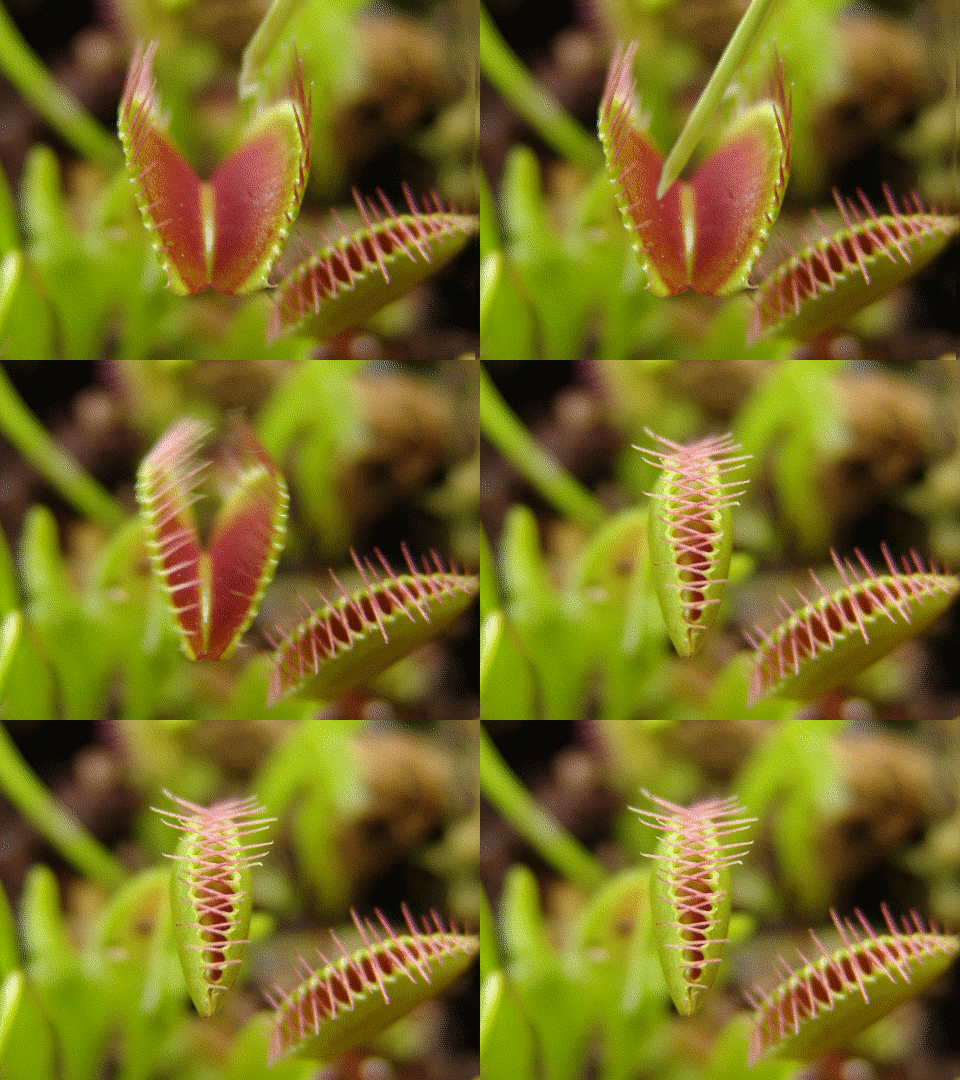
Challenge - Plants - Venus Fly Trap


Daffy looks just like my late Basil. RIP
Plants are collectively some of the neatest organisms on the planet.  My grandmother is a plant fanatic and has always stopped to smell the roses in her own way (usually that way is by keeping little baggies with her to take clippings and seeds home with her to plant later).  From a very early age I had a healthy respect for how difficult it is to balance loving your plants with drowning them. I don't have any houseplants because I still haven't mastered not going all Abominable Snowman on them. That said, I was pretty stoked for this week's inspiration.


I decided to go after The Venus Fly Trap and I love how they turned out! The texture of the spun sugar feels really neat on the nail while the contrasting colors really pop.  It was a time consuming manicure but definitely worth it for the final look!


First, I painted 2 thin coats of Julep Francis. I free-handed a ruffian over that with NYC Broadway Burgundy Frost and topped with a coat of seche.

Next, I dropped a bit of Julep Francis on some photo paper and mixed it with a toothpick until it was thick and no longer freely dripped. On a fresh toothpick, I grabbed a bead of the tacky polish and brought it up to the nail. I touched the bead to the nail and slowly dragged it diagonally down the nail. When I had gone far enough, I retraced my route so any stringy bits could be easily masked in the line I'd made. Rinse and repeat! When the polish got too thick, I'd add another drop or two and mix thoroughly.

Finally, I used a detail brush to paint the outside edges of each nail with a thin dry brushing of Julep Leah.
This is my second attempt at Spun Sugar.  Have you tried it?

Saturday, October 12, 2013

Challenge - Animal - Nudibranch Nails!

Meet Mr. Chromodoris roboi.
He can grow as big as 26mm! (We're really impressed)
I'm a teensy bit too excited about these! I pinterest stalk nudibranchs pretty hard and it came to me that they could make for some amazing nail inspiration. The hard part was trying to narrow which tiny color bomb could be done justice in polish! I couldn't hope to capture it completely since they are such ethereal, surreal little things.


In my pinterest "research" (If I call it research I can procrastinate doing the dishes guilt free, right?), I came upon this little guy who reminded me of reverse gradients.  I formulated my plan based on that idea.

First, I laid down a coat of OPI My BF Scales walls and topped it with Julep Bess. Then, I sponged a gradient using F21 Earl Grey to about three quarters down the nail and covered it all with a topcoat.  Next, I cut irregular shapes out of tape using an xacto knife and placed them on my nails to mimic the pattern on the nudibranch.  I sponged a gradient of Julep Nina, Lucy, and Cleopatra over this (careful to line up Bess with the Lucy/Cleopatra gradient), removed the tape and popped on another topcoat.


 I love the outcome! Reverse gradients are one of my favorite techniques. What are some of yours?

Sunday, September 22, 2013

Nails of the Day - Ocean Waves

A girlfriend commented that my last manicure reminded her of waves more than of clouds and suddenly my mind went into obsession-mode. I couldn't stop thinking about how freaking pretty that would be!  So, I busted out my sponges and fan brush and got to work.  The result is something that I'm disappointed doesn't capture completely on camera.  I love this look!


I started with a layer or two of OPI Nail Envy then sponged a layer of  LA Colors BCC 656 (white) onto the nail from the tip to about 3 quarters down. Next came a layer of grey (Sinful Colors Slate) that was sponged down about halfway down the nail.  Sinful Colors Mint Apple was sponged throughout the grey and a little further into the white. I repeated the colors (white, grey, green) until I'd built up enough color that it was opaque but had maintained the white at the bottom to look like the wave touching shore. I came in with a fan brush and Orly Sparkling Garbage to dab in some glitter without covering up the detail before topping each nail with 2 coats of Seche Vite.

Normally, I don't prefer individual finger pictures but I couldn't get my camera to cooperate to show you the detail without it.  Sorry!

Index
Middle
Ring
Pinky
Thumb 

Saturday, August 31, 2013

Nails of the Day - Pink Glitter Gradient and Handplaced Glitter Flowers


 I've seen these hand-placed glitter manis floating around the internet and desperately wanted some diamond shaped glitter to play with.  I must admit I didn't try terribly hard before Sinful Colors Shine on Me was received in an exchange.  Combined with a couple pearl rhinestones, Julep Madeline and sponged gradient of Wet N Wild Sparked, I have some of the girliest nails on the planet.


I love how flashy this glitter is; So eye-catching!


Thursday, August 22, 2013

piCture pOlish - Voodoo, plus special guest OPI Funky Dunkey

Ah, the saga of the temporary insanity continues... Another installment of "I went nuts when Llarowe restocked" is here for your viewing pleasure.

I got my first piCture pOlish, and lemming down! It was so dreamy using. The first polish I used that was so easy to paint with that I didn't need clean-up! Some may say that I should have done a little touch up here and there... BUT I WAS SO PROUD! So yay for first time painting nails like a really person instead of The Bride of Frankenstein.


This pic is in direct sunlight. Outside it just sparkled like crazy! When the bottle came, it was mostly a gold/coppery dusting of glitter on the bottle, giving it a more brown than red vampy look. So, I remember thinking... Is this what I ordered?! So, I put it off putting it on. OH THANK GOODNESS I FINALLY USED IT! One of my absolute FAVORITES right now.  This pic, to me, really represents the dark, luscious, saturated color. The sparkle is not really popping in the pic though. SO.... I did a macro. Well... AS macro as *I* can get right now.


Ok, first. This photo is not edited AT ALL. It's so crazy hot awesome it came out. It looks so velvety.

As much as I LOVED this by itself, I wanted to try out something new I also got from Zulily when they had the OPI duo's on sale. OPI Funky Dunkey was paired with OPI Black Spotted!!!!!!! ANOTHER LEMMING X2 DOWN! To have the opportunity to FINALLY get Black Spotted for less than $4 billion?! That's just... I'm verklempt. Mucho fotos soon.

Moving along... I did some nail art with Funky Dunkey. I am actually proud of it. It's me. Fun, jagged, understated, and lovely. Iffffff I do say so myself... Also, I googled color wheels and played with colors and this is my favorite combo that I made... MOVING ALONG....


In these pictures the sparkle comes out better. I took them in direct sunlight. This is the first set of pics that I took without artificial light. 

To conclude, this I am pretty proud with this post. I think I did a good job with the color combo and the pics. :D

Don't forget about our giveaway. As I posted in FB,  *IF* *WHEN* we reach 200 likes we are adding an additional polish per prize. We will reveal the prizes after reaching 150 likes. There's a Julep, two Barielles and an Ulta.  Don't miss out on your chance to win a CUSTOM indie +1, 4 Barielles +1, 3 Calvin Kleins +1, and Orly Duo +1!!!!!  Pretty sweet deal. 

Rachel